Today's "Album"
Hey everyone! I made this chipboard album in the vintage style. For the cover I used some vintage style paper and added this wooden "traditions" element. I painted it brown. I took this brown piece of paper, and put gold paint all around the edges for a mat. I added some ribbon/flowers/lace and brads to finish up the front. Throughout the rest of the album, I have added stickers, flowers, brads, gens, metal elements, buttons and flowers. I sewed some of the mats to the pages for interest. To bind this album, all I did was take my we r memory punch and make holes for the top and then bind it together using a binder clip. It is a very easy way to get an album together!
Subscribe to my Youtube Channel
Thanks for stopping by!
Today's "Card"
Hey, I took this fairy digi image and then used some stickles to add some glitz to this fairy. I used spellbinders to mat up the die cuts. For the background, I made this using the ranger colour sprays. It is a product they sold a couple years back, it gives some nice rich colour. Then I added some paper from the K & Co paper line sweet nectar. I used some twine to criss-cross around the mat. Then I added three flowers/brads over top of the main image mat. I added a tag I made with my We R Memory Chompers (purple set) and stamped the "You're so sweet" sentiment on to it. I used my copics to match the colours from teh cards in the words. I lastly added this great cupcake embellishment that I'm not quite sure what company it is, but it worked perfectly! Then I adhered it to the card front and it was done!
Subscribe to my Youtube Channel
Thanks for stopping by!
Today's "Card"
I won this digital image awhile back and just had to use this sweet puppy. I added some stickles to his collar and then matted him up using spellbinders. I used some Authentique paper and layered up a tag using my own sentiment using MS Word. I then used copics to add some red to the "Life" in the sentiment.I attached this beautiful red ribbon and made a nice bow! I'm still working on my bows, but this one is great! I then adhered it first to some red cardstock, and then that to the black card front. I added some red bling to the side and she was done!
Subscribe to my Youtube Channel
Thanks for stopping by!
Today's "Card"
Hey! Check over at Birdie Browns and grab this cute digi. It is there challenge for the month. I printed this guy off and then used watercolour pencils on him. It worked alright, but I think I prefer my copics...but I wanted to do something a bit different. After he was dry, I had to spice him up with some stickles. I layered him onto a spellbinders oval scalloped die cut. I used some random paper for the back and some layered the border and matching sticker onto the mat. I added some leaves...one big one in behind and 2 little guys in front. Lastly I added some buttons/twine to finish this up. I think I will try this little guy again and use copics, hopefully sometime soon!
Subscribe to my Youtube Channel
Thanks for stopping by!
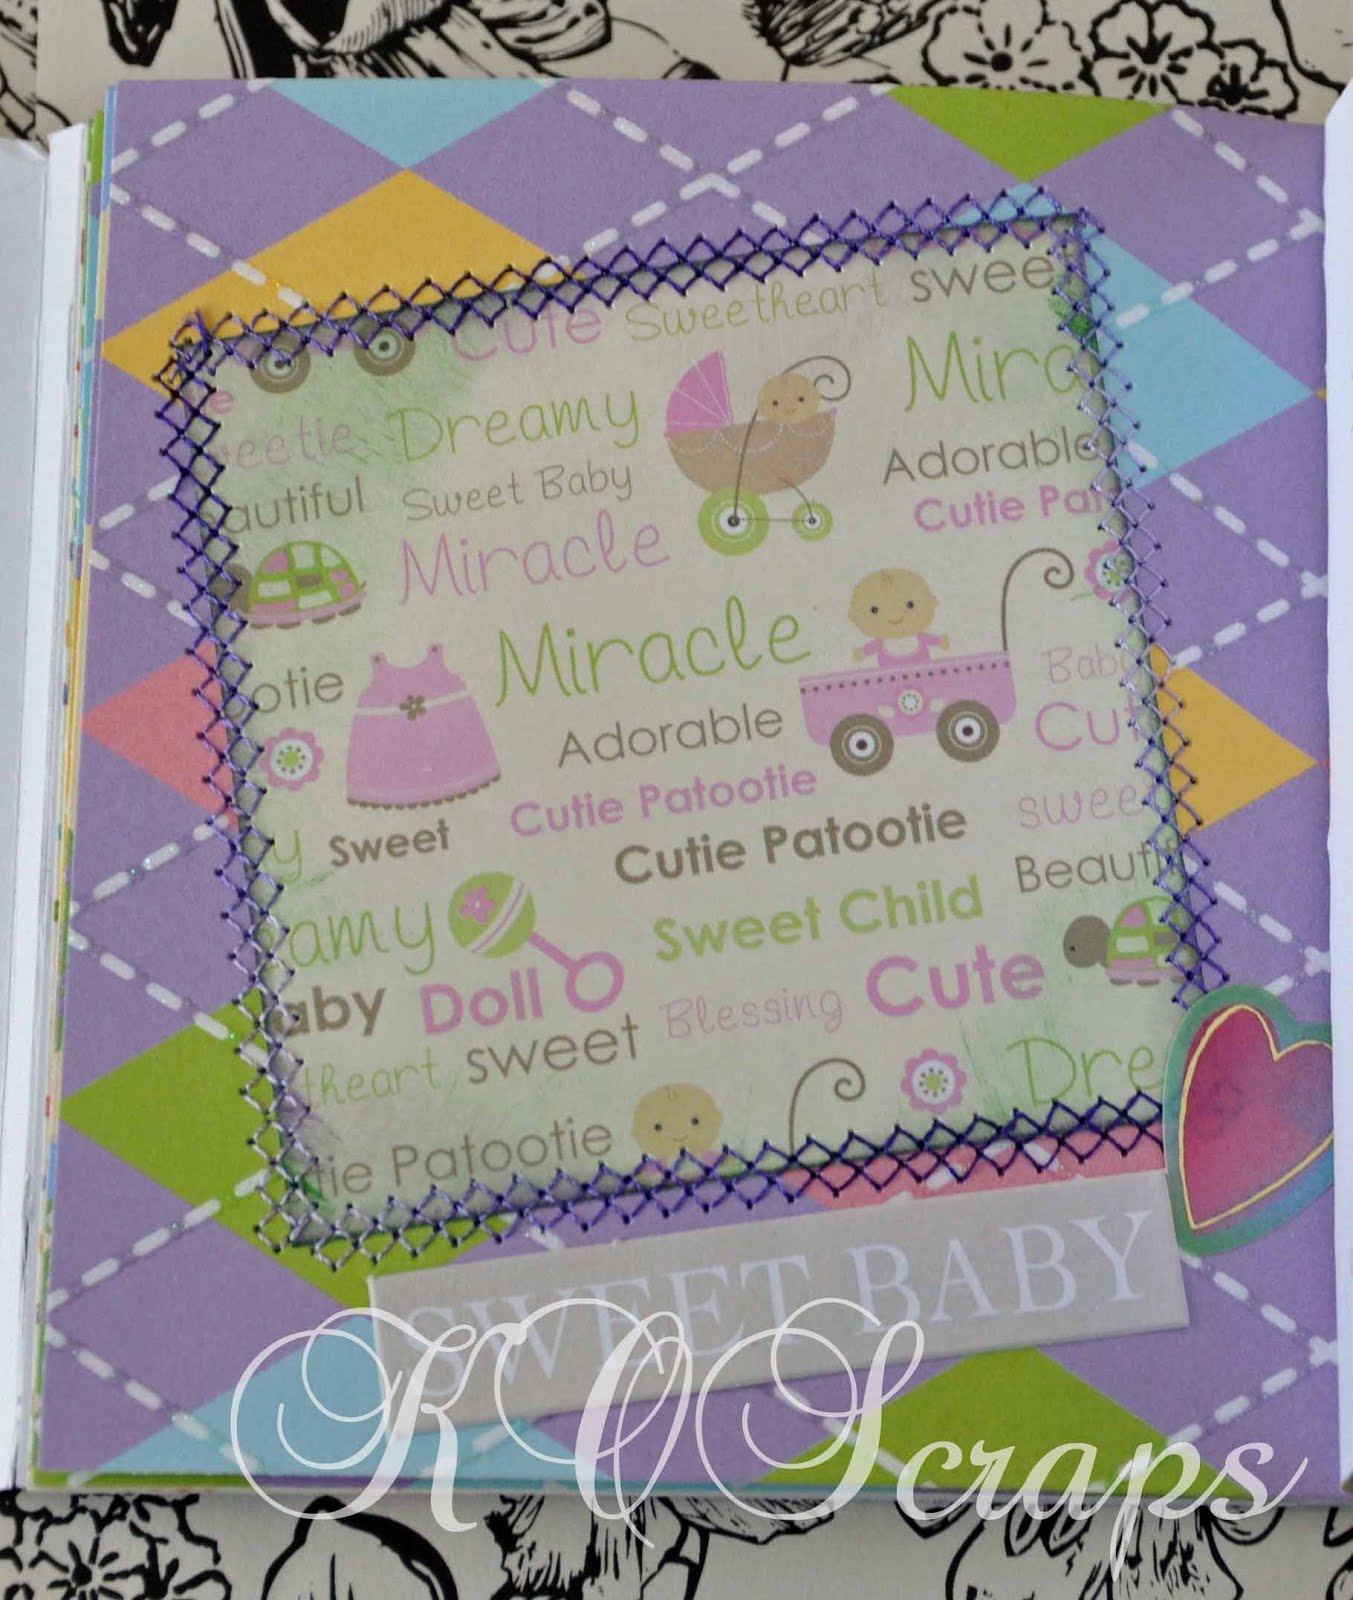
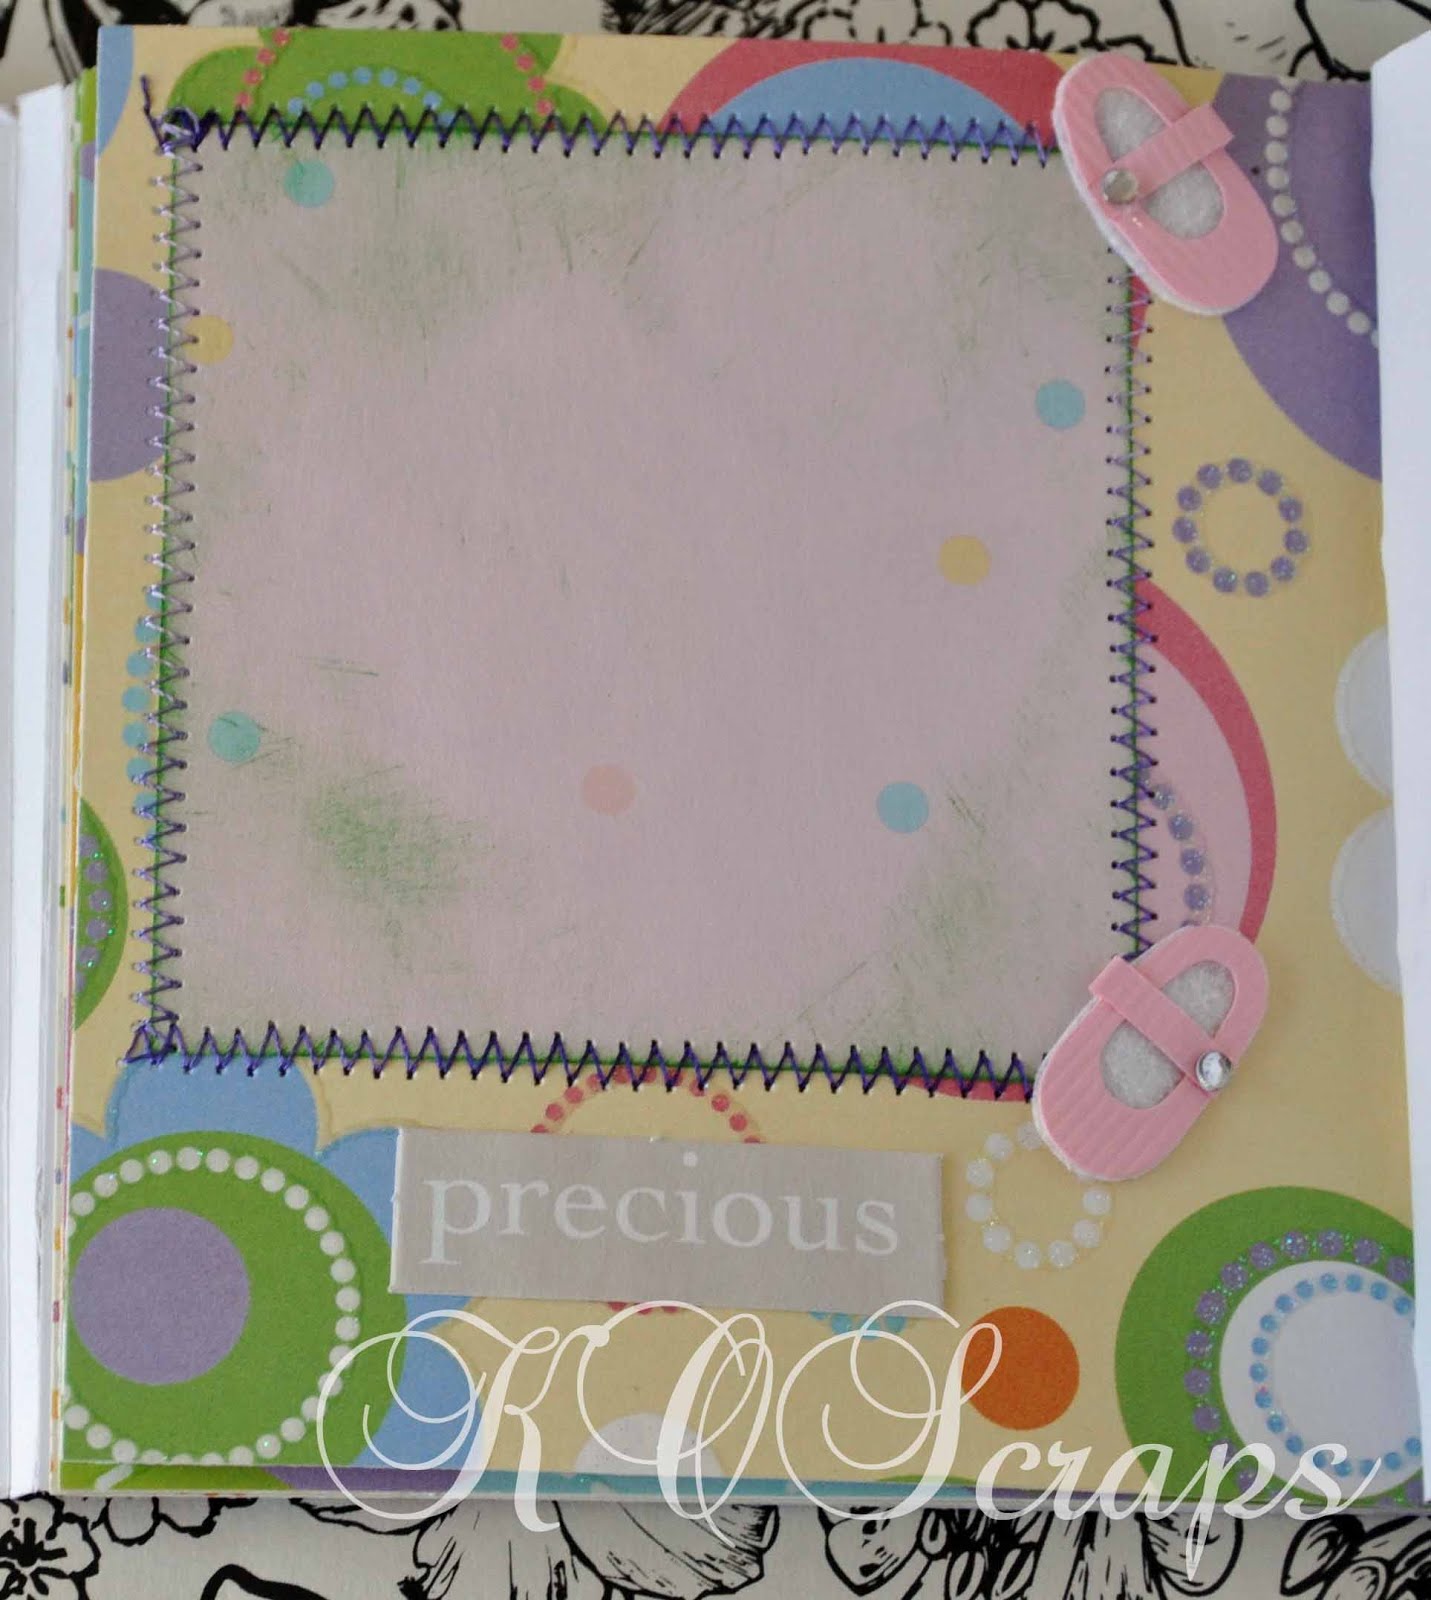
Today's "Album"
Here is a quick way to make a mini-album. I made this matchbook style girl album. To add some decoration, I sewed all my mats onto the pages. It was a very easy to put together mini. I added a few flowers and brads along the way and a few stickers of course. I put this one together very quick and it will make a nice present! I also thought that this could turn into a card...in fact a few pockets and it could be a gift card holder/card/mini!
Subscribe to my Youtube Channel
Thanks for stopping by!
Today's "Card"
Hey! I used this digi image of these love bears. I then used copics over top of them to add some more details. I cut them out with spellbinders ovals and layered it with a scalloped ovals die. I used papers from the My Mind's Eye Bluebell 6 X 6 pack. I love this paper! I then added a ribbon/bow to the side. I made my own sentiment using MS Word and then used a corner rounder to make a nice tag. I didn't like the light colour paper going across the bottom, so I used the same copic colours I used on the bears to the light colour of the stripe. Then I added 3 flowers and 3 buttons. Lastly I added some glitter to where the bears were sitting...and then some above and on the bears as if it were snowing.
Subscribe to my Youtube Channel
Thanks for stopping by!
Today's "Card"
Hey everyone sorry for the back log of postings, it hasn't been too sunny out, so I have been postponing taking pictures! Anyways, here is my male inspired card. I used a variety of Tim Holtz papers, stamps, and ink of course. I added some brads to the spellbinders label die inked it up and used copics to colour in the "dad". I used some pop dots to "pop" it off. I added some black ribbon to add some interest and some 7 gypsies gears (as you know I love them!) I ripped the bottom of the main mat and inked it up. Lastly I just layered the papers and brought this card together.
Subscribe to my Youtube Channel
Thanks for stopping by!
Today's "Card"
I love this paper from the K & Co paper line. I matted some pattern paper and then sewed it together. I printed this digi-image onto white cardstock and then used my spellbinders ovals to cut it out. I matted it onto some black cardstock. For the image I used some copic colours and then added some stickles on top for some sparkle! If that wasn't enough I added some stickles to the flowers and then layered them on with some brads. I made my own sentiment from MS word and then matted it onto black cardstock to get it to pop a bit. This was a quick and easy card, but a fun one too to make.
Subscribe to my Youtube Channel
Thanks for stopping by!
Today's "Card"
Yes here I am with my owls again. I should warm you all, I have found a lot of owl images, so you might see some more owl cards soon!!! I love this little image with the spider dangling. I added some stickles to bling it up, and love the red eyes on the spider! For this card I cut this little guy out with spellbinders and matted him up on 2 other dies. I layered some cardstock and then put some American Crafts green ribbon/bow around the card. I had a rub on web/spider I placed in the corner. I then added some flowers/brad and it was done.
Subscribe to my Youtube Channel
Thanks for stopping by!